Azure 
The following steps will explain how to import a CipherMail appliance into Azure.
Requirements:
CipherMail Professional/Enterprise appliance for Azure
Azure account
Azure storage account
Outbound SMTP connections on port 25 should be allowed
Note
By default, Azure blocks outbound connections on the standard SMTP port 25. To enable outbound port 25, request to have the restriction removed by going to the Cannot send email (SMTP-Port 25) section of the Diagnose and Solve blade for an Azure Virtual Network resource in the Azure portal. For more information see https://docs.microsoft.com/en-us/azure/virtual-network/troubleshoot-outbound-smtp-connectivity.
Download virtual appliance
Download the Azure virtual appliance from https://portal.ciphermail.com.
Unzip the downloaded file. The unzipped version should have the .vhd extension.
Upload to Azure storage
The vhd file should be uploaded to a Azure storage container.
Log into the Azure portal
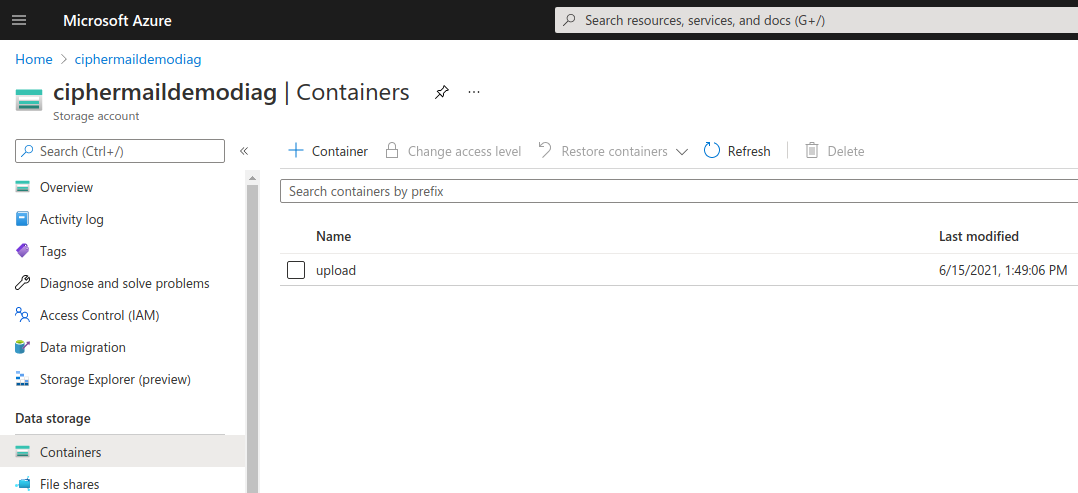
Select a storage account to which the vhd file should be uploaded
On the storage account page, select a container (see screenshot). If there is no container yet, create a new container with the name upload.
Upload the .vhd file
Create image
An Azure image should be created from the uploaded vhd file.
Open the images page ()
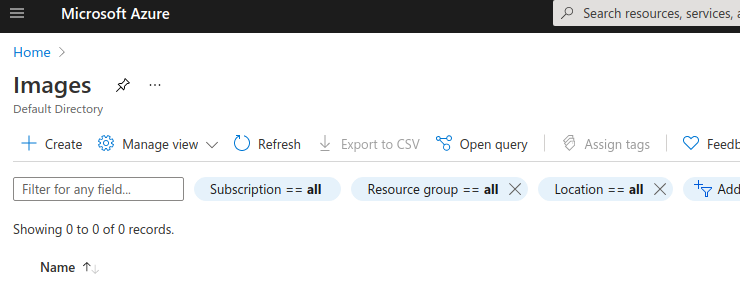
Click Create to create a new image
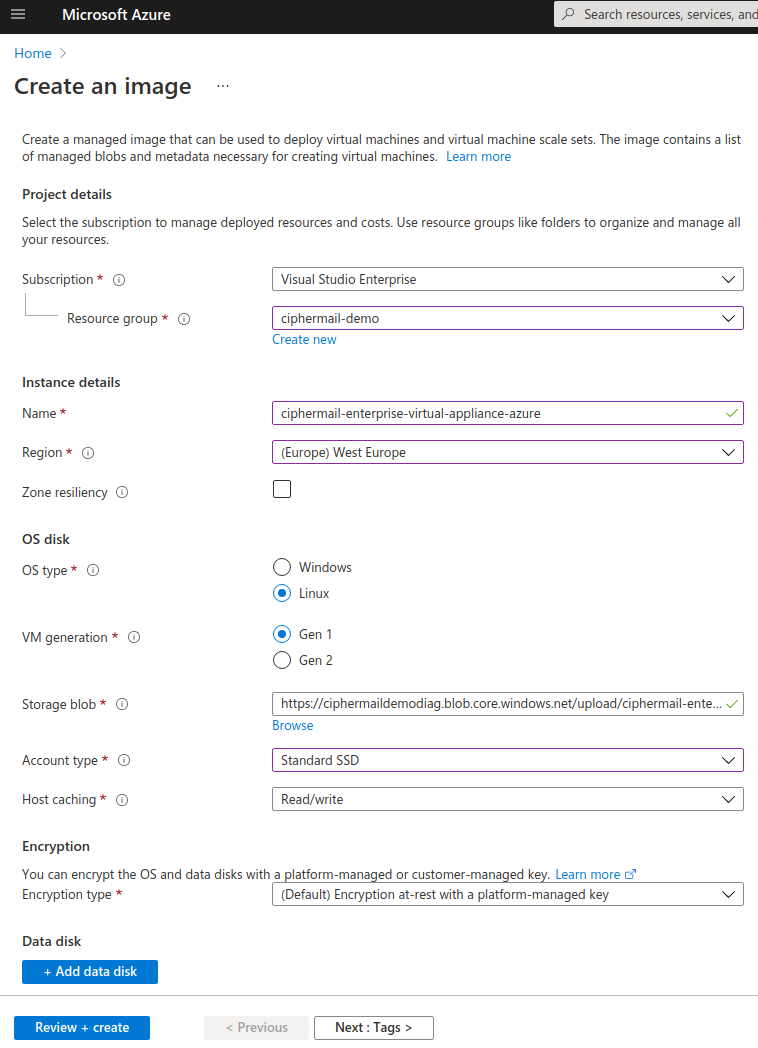
Fill in the required details. Set
OS Typeto Linux,VM generationto Gen 1 and setStorage blobto the uploaded vhd. Set the other values to match your setup or requirements.Click Review + create
Review the details and click Create to create a new image.
Create VM
Create a new VM from the new image.
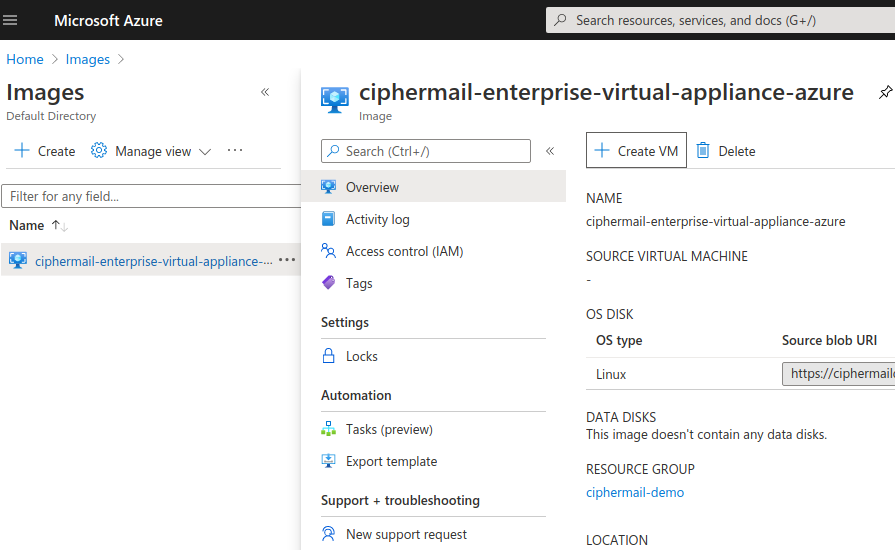
Open the images page ()
Select the new image and click Create VM
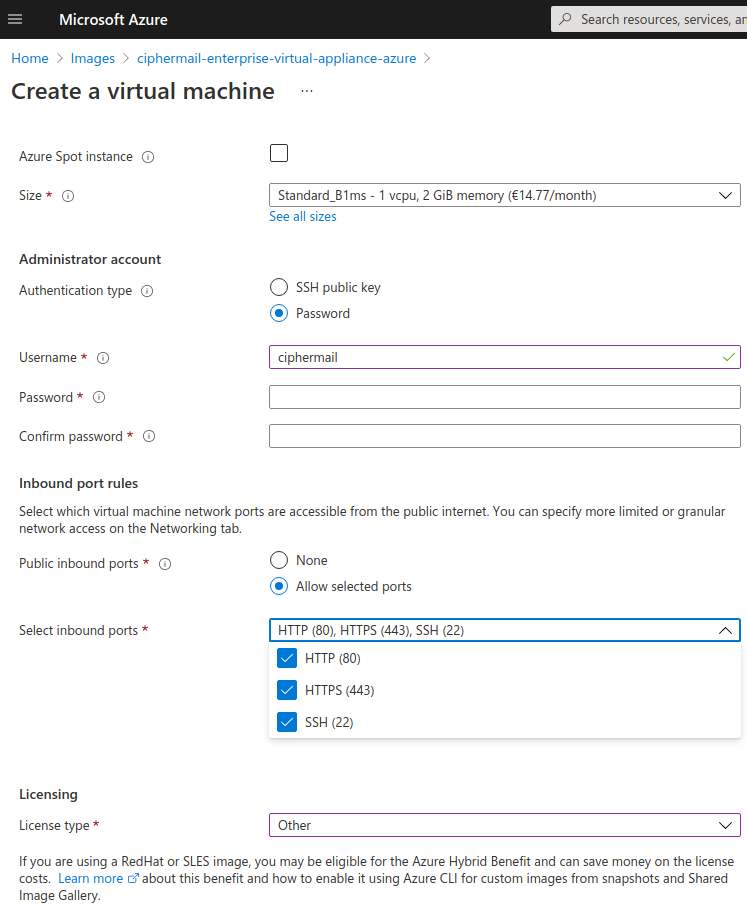
Fill in the required details for the new virtual machine.
Set
virtual machinenameSelect the newly create image
Select a VM size
Set
usernameto ciphermailNote
You can select any username instead of ciphermail. It’s however advised not to use the username
sabecause there is already a (locked) user with this name.Set passwords
Select inbound ports 80, 443 and 22
Set
License typeto Other
Select next pages, change the details if required, and click Create to create the VM.
Note
The azure user is by default is allowed to log into the CipherMail Web GUI (if PAM authentication is enabled).
Resize disk
By default the image uses a 5GB disk. For most setups this is too small. The disk should therefore be resized.
Warning
It is only possible to make a disk larger, not smaller.
To resize the disk:
Stop the VM. Before growing the disk, the VM should be stopped. The VM can be stopped by selecting the VM and clicking Stop
Select the disk and select Size + performance
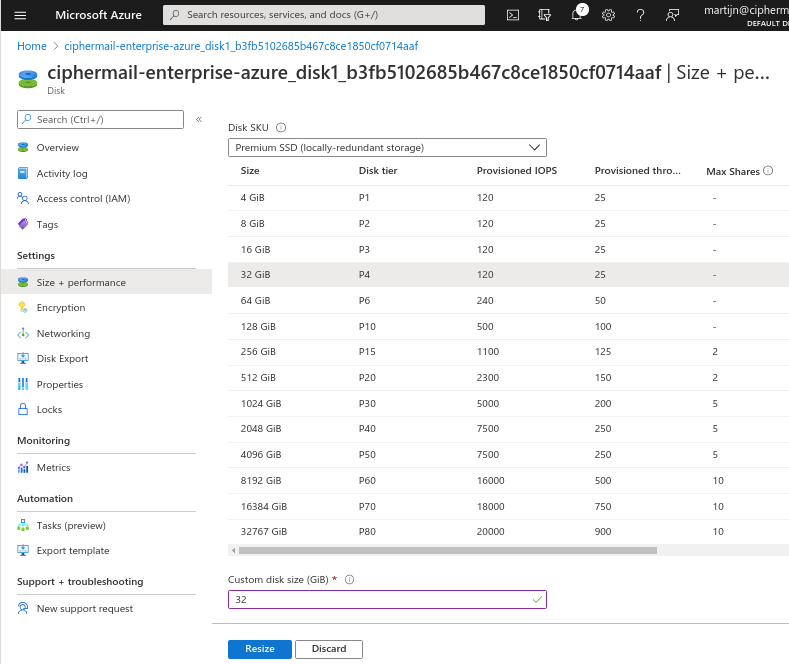
Select the new size and click Resize
Start VM. The disk will expand during the startup phase.
Restart VM. Because the disk was expanded, it should be restarted.
Configure Cockpit
The CipherMail Enterprise Appliance comes with the Cockpit application installed. The Cockpit application is a web-based graphical interface for servers which can be used to manage certain aspects of the server.
Open port 9090
The Cockpit application is accessible on port 9090. Port 9090 should therefore be added to the inbound port rules.
Open the networking settings for the VM.
Click Add inbound port rule
Set
Protocolto TCPSet
Destination port rangesto 9090Set
Nameto Port_9090Set other fields if neede
Click Add
Warning
It is advised to only allow access to port 9090 from systems under your control. For example set the Source to the IP addresses from which you connect.
Unlock sa user
The CipherMail system user account is sa. For security reasons, the sa user is locked by default. The sa account should be unlocked if you want to use the Virtual Appliance system configuration tool.
Open the console login page on https://IP:9090 (change IP to match the IP address of the VM)
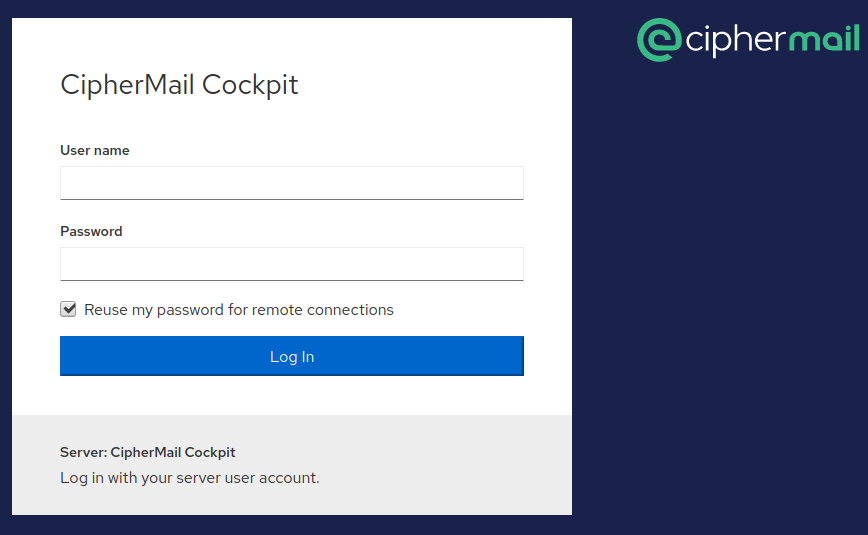
Login with the azure user which was added when the VM was created (see steps above).
After login, open the Accounts page.
On the accounts page, select the sa user
On the sa user page, click Set password to set the password for the sa user
You can now log into the console with the sa user.
Note
You can login to the console in different ways. For example with SSH or the serial console. RDP is not supported because the Virtual Appliance is not a desktop application.